Check out the video below!
While Android M is still months away from being officially announced to the public and multi-window isn't a true "official" feature the multi-window feature still works. However, I have experienced a few bugs with multi-window, but it's still 100% usable!
Remember your supported Nexus device muct have Android M Preview installed on it!
How to install Android M Preview on Nexus 5
How to install Android M Preview on Nexus 6
Follow the guide below to enable multi-window on Android M: Supports Nexus 5, Nexus 6, and Nexus 9.
1. Power off your device. Then press and hold the volume down and power button at the same time until you see a green "Start" on the screen.
3. Download AndroidMPreviewMultiWindow.zip using the download link below!
Download AndroidMPreviewMultiWindow.zip
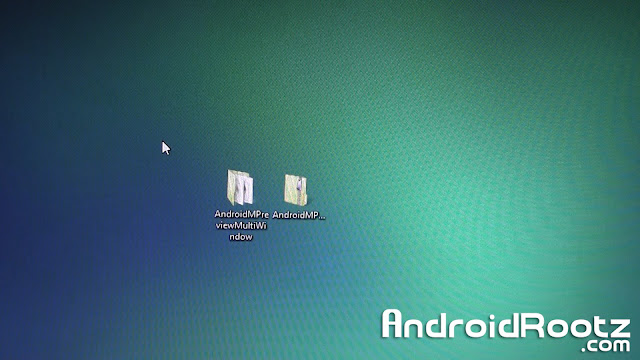
4. Unzip the file you downloaded in step 3 and move the folder to your desktop!!
5. Open Command Prompt if your running on Windows or Terminal if your on Mac/Linux/Ubuntu.
Depending on if you are running on Windows, Mac, or Linux/Ubuntu and what device you have follow the directions below!
Type in the commands and press enter after each line.
Windows:
Nexus 5:
cd Desktop
cd AndroidMPreviewMultiWindow
fastboot flash recovery twrp-2.8.6.1-hammerhead.img
Nexus 6:
cd Desktop
cd AndroidMPreviewMultiWindow
fastboot flash recovery twrp-2.8.6.0-shamu.img
Nexus 9:
cd Desktop
cd AndroidMPreviewMultiWindow
fastboot flash recovery twrp-2.8.6.0-flounder.img
Mac:
Nexus 5:
cd Desktop
cd AndroidMPreviewMultiWindow
./fastboot-mac flash recovery twrp-2.8.6.1-hammerhead.img
Nexus 6:
cd Desktop
cd AndroidMPreviewMultiWindow
./fastboot-mac flash recovery twrp-2.8.6.0-shamu.img
Nexus 9:
cd Desktop
cd AndroidMPreviewMultiWindow
./fastboot-mac flash recovery twrp-2.8.6.0-flounder.img
Linux/Ubuntu:
Nexus 5:
cd Desktop
cd AndroidMPreviewMultiWindow
./fastboot-linux flash recovery twrp-2.8.6.1-hammerhead.img
Nexus 6:
cd Desktop
cd AndroidMPreviewMultiWindow
./fastboot-linux flash recovery twrp-2.8.6.0-shamu.img
Nexus 9:
cd Desktop
cd AndroidMPreviewMultiWindow
./fastboot-linux flash recovery twrp-2.8.6.0-flounder.img
6. Now on your device press the volume down until you see "Recovery mode" and then press the power button. You will now be entered into TWRP Recovery.
7. Select "Mount" > check mark "System" and then press the home button. Remember to still keep your phone plugged into your computer.
8. Go back to the open Command Prompt/Terminal window and type in these commands. Press enter after each line.
Windows:
adb pull /system/build.prop
Mac:
./adb-mac pull /system/build.prop
Linux/Ubuntu:
./adb-linux pull /system/build.prop
9. Open the folder called, AndroidMPreviewMultiWindow. This is the folder you extracted in step 4.
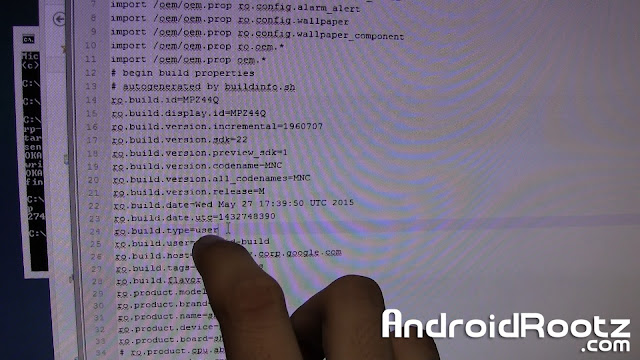
10. In this folder you will now see a file called "build.prop". Open it up using a text editor. I recommend Notepad++ for Windows and TextEdit for Mac.
11. Find the line "ro.build.type=user" and change it to "ro.build.type=userdebug". Now save the file.
12. Go back to Command Prompt or Terminal and type in these commands. Press enter after the end of each line.
Windows:
adb push build.prop /system/
adb shell
cd system
chmod 644 build.prop
Mac:
./adb-mac push build.prop /system/
./adb-mac shell
cd system
chmod 644 build.prop
Linux:
./adb-linux push build.prop /system/
./adb-linux shell
cd system
chmod 644 build.prop
13. Now go back to your device and select "Reboot" > "System". If TWRP asks you to install SuperSU select "Do Not Install".
14. Your device will now boot up like normal, but now you will have multi-window enabled! Don't worry if you get a warning screen with "invalid boot img", your device will still boot up.
15. Your done. Open a few apps, select the recents button, and then tap on the black square to multi-window the apps!
Credits - XDA
Check These Out!!
How to install Android M Preview on Nexus 5
How to install Android M Preview on Nexus 6
-----------------------------------------------------------------------------------------------------------------------------
Need Help With Your Android Device? Follow Me / Add Me / Like Me
Google Plus
-----------------------------------------------------------------------------------------------------------------------------
Check Out Our YouTube Channel For More Great Guides!
YouTube and Subscribe
-----------------------------------------------------------------------------------------------------------------------------
Don't Forget Our Weekly Android App Reviews!
Check Them Out, Here!
Thanks for reading my news about How to Enable Multi-Window on Android M! [Nexus 5/ Nexus 6/ Nexus 9] at my blog Mods Firmware if you want too share this article, please put the resource, and if you think this article is very usefully dont forget to bookmark this site with CTRL + D on your keyboard to web browser.


